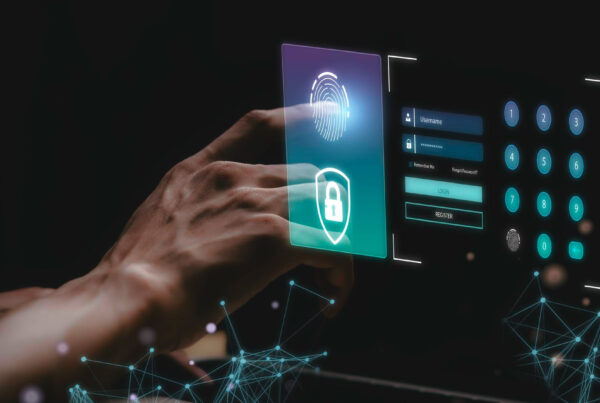
INTRODUCTION:
Protecting our data and information is the most serious and essential thing we need to do in today’s world. Because in today’s world there are many ways to steal your data or information and use them to blackmail you. This blog discusses network security and how to turn an unsecured network into a secured one.
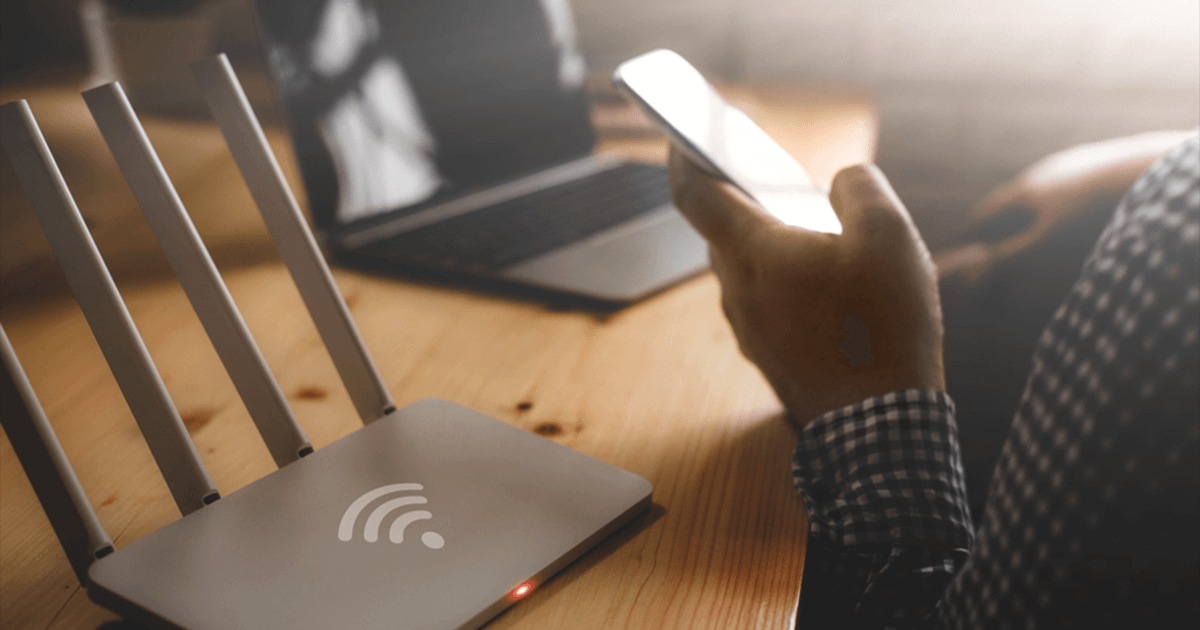
WHY DO WE NEED TO CHANGE OUR WIRELESS NETWORK TO SECURE?
It does not matter whether we are talking about a home wireless network or a business wireless network both can be compromised and both should be kept safe and secure.
- If you don’t set up a password or set a weak password for your bandwidth, Other people can connect to your device without your knowledge and can do whatever they want, play games, and watch videos or movies online. Still, some people may severely abuse your network by doing illegal activities that may cause serious problems as they gain access to your device and monitor all your activities. This can be done by the method called piggybacking.
- If your wireless network is unsecured and you do not switch on the securely share file feature, then there is a chance for third-party actors to access or watch the file you shared with the respective person. The best way is to disable the file-sharing function if you do not use it often.
- One of the major problems is that if you have an unsecured network and you are still using your router as the default admin login then it’s fairly easy for bad actors to guess your login id and password. And once the hacker gets access to your router settings, he has full control of your network.
HOW TO CHANGE UNSECURE NETWORK TO SECURE NETWORK:
If we are talking about a secured network then it should be mentioned WPA, WPA2, and WPA3 are Encrypted. So no matter whether you are using your business or home network if it’s an open network(Unsecured), secure it immediately.
In short, you can change an unsecured wireless network to a secure one from the router’s admin panel. This means you must first log in to your router, find the wifi range, and set up a strong, useless password, and unique wifi password.
Step 01:
- As mentioned earlier, one should log in to the router first. And for doing it successfully one should know their default router admin username and password for login. You can usually find it on the label under the router or in the user manual. After that, you can search down and find out how to login into the router.
Step 02:
- First, you have to connect your network to the device to access the setting of the router. You can connect with a smartphone, laptop, etc by wifi or network cable. And once you can connect to the network you are set up for the next step.
Step 03:
- We should use a web browser to access the router admin dashboard. It helps us to see the graphic interface of a router which makes it easier and simple to understand. You can use any web browser but it is better if we use Google Chrome or Microsoft Edge for safe search.
Step 04:
- The routers manufacture the IP addresses from the private IP range as standard IPs for the routers. Some common use of IP addresses are:
– 192.168.0.1
– 192.168.1.1
– 10.0.0.1 etc.
- You should keep logging in one by one by IP address until you find your correct IP address. If you are windows interface user, you can do this using the command prompt and the configure command. If you are using another device, please refer to this guide to find the router’s default IP address. If you enter the correct router IP into the URL bar, you will be prompted for a username and enter the password.
Step 05:
- You can use the default admin username and password if you haven’t changed any of the router’s default settings.
- The default username and password can be found on the label under the router. You can try these terms also:
- For the username, you can use admin, root, user, etc.
- For the password, you can use: 1234, user, or leave blank.
As we can see, these default admin credentials are very basic and simple and can be changed as soon as possible. And when you enter the username and password, you will gain access to the router’s admin panel.
Step 06:
- As we are using different routers brands. Different brands have different settings so let’s discuss some of the brand router’s settings:
- ASUS:
- Go to advanced settings and find wireless.
- You see different options there, scroll down, choose the authentication method, and then click on WPA2-Personal.
- Then set WPA Encryption to AES and then in the WPA Pre-Shared enter the new password for the wireless network after clicking apply to save all the changes.
- Linksys:
- Click on the wireless option at the top of the horizontal bar. Then click on the wireless security.
- After you see the option security mode, select the WPA2 Personal option from the drop-down option.
- Paraphrase appears then create the password and save the changes.
CONCLUSION:
One should avoid using a default admin panel login because everyone could find or guess a default network password and if a hacker gets to know then your account may be compromised. And remember not to use your router network as the default admin panel login.
Always disable the file-sharing option if you don’t use it & if you are using it you should always create a password-protected shared file.
Install antivirus and firewall on your device to secure and regularly scan your device at least once a month to keep your device away from viruses and malware.
Now you all know why it is important to secure our unsecured wireless network, how to do it, and also add some extra layer of security to keep your wireless network secure. If your network is still unsecured takes some time to apply these changes, but that’s nothing compared to the stress of finding out someone has hacked into your network and locked you out.
Authors: Ms. Priya Bala, Assistant Trainer, CyberPeace Foundation